Case Study: Trade Me Property
Apr 11, 2016 · Sandy Mamoli
Guest post by: Zhi Lee, Trade Me Property Delivery Manager.
We’re very thankful that Trade Me as an organisation allows employees to select teams and themes they’d like to work on, on a regular basis. It’s something we try to do twice a year in Trade Me Property.
Now, it’s a huge leap of faith to basically entrust the lifeline of your product to the tech team, allow them to form squads around initiatives, and trust them to deliver. But it is oh so empowering, and people do their best work when they build stuff they like.
(If you like to learn more about self-selection, check out this post, or read Sandy and David’s book – Creating Great Teams – How Self-Selection Lets People Excel.)
This year we tried a few new things with self-selection at Trade Me Property:
Firstly being really, really, really organised about it. It’s an important milestone so why not lay the foundations right? Preparation started a couple of weeks in advance.
Step 1. Themes and resources
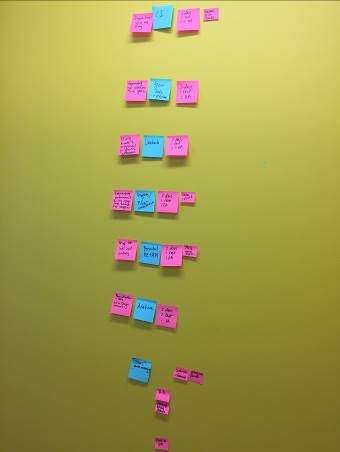
As the Delivery Manager, I got together with our product managers to group initiatives to themes, and match resources to squads. The image is deliberately fuzzy as it contains some commercially sensitive info. Left pinkies are initiatives, in blue we have our themes, right pinkies are resource numbers. Then we realized a bunch of initiatives didn’t fit anywhere, so we created a bucket called “others”. It’s important to call these out as it allows us to acknowledge these and focus on the key themes.
Step 2. Product / theme posters
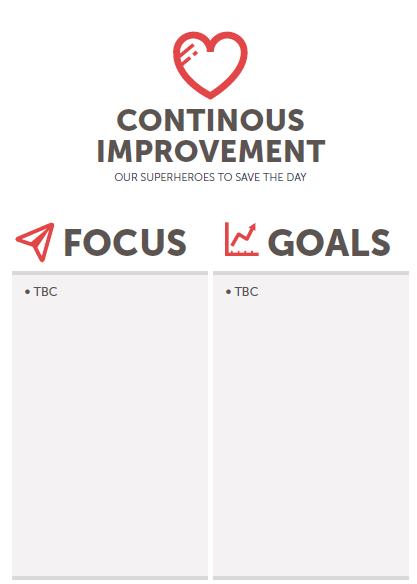
We gave it a couple of days for our product managers to “chew on it” and think about their product visions and success metrics. Our posters look something like this (and sorry for misspelling “continuous” – we’ll fix that for next time):
Step 3. Run a simulation
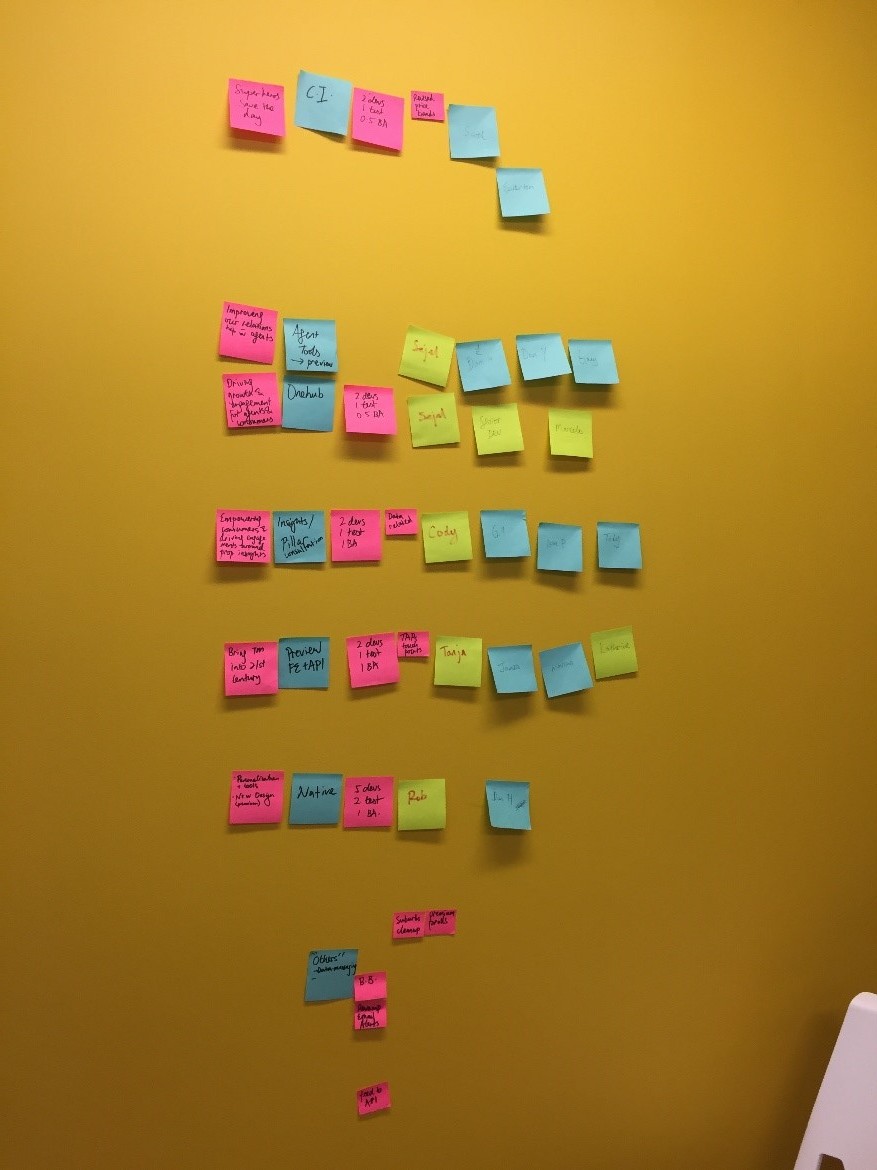
Then we got our product managers back in the room, with our Chapter Leads this time. We ran a simulation and put names against squads to make sure everyone was accounted for. To clarify, we weren’t making pre-disposed assumptions of who would go where, but merely accounting for everyone. It was a worthwhile exercise because we realised that 3 of our developers were still being recruited for and that meant we had to deprioritise a theme to avoid overly stretching our squads.
Step 4. Resource templates
We needed to indicate guideline resource numbers because we needed two larger squads for larger themes of work.
We created squad templates and photocopied them on large A3 paper. We then filled in the number of devs/testers/BAs/designers as a guideline with stick figures for each person required.

Step 5. Trial run
Four days before self-selection, posters were laid out on the walls at our deck area with topics to cover for the day. You might notice desk selection on the wall - don’t get excited yet… more on this later.

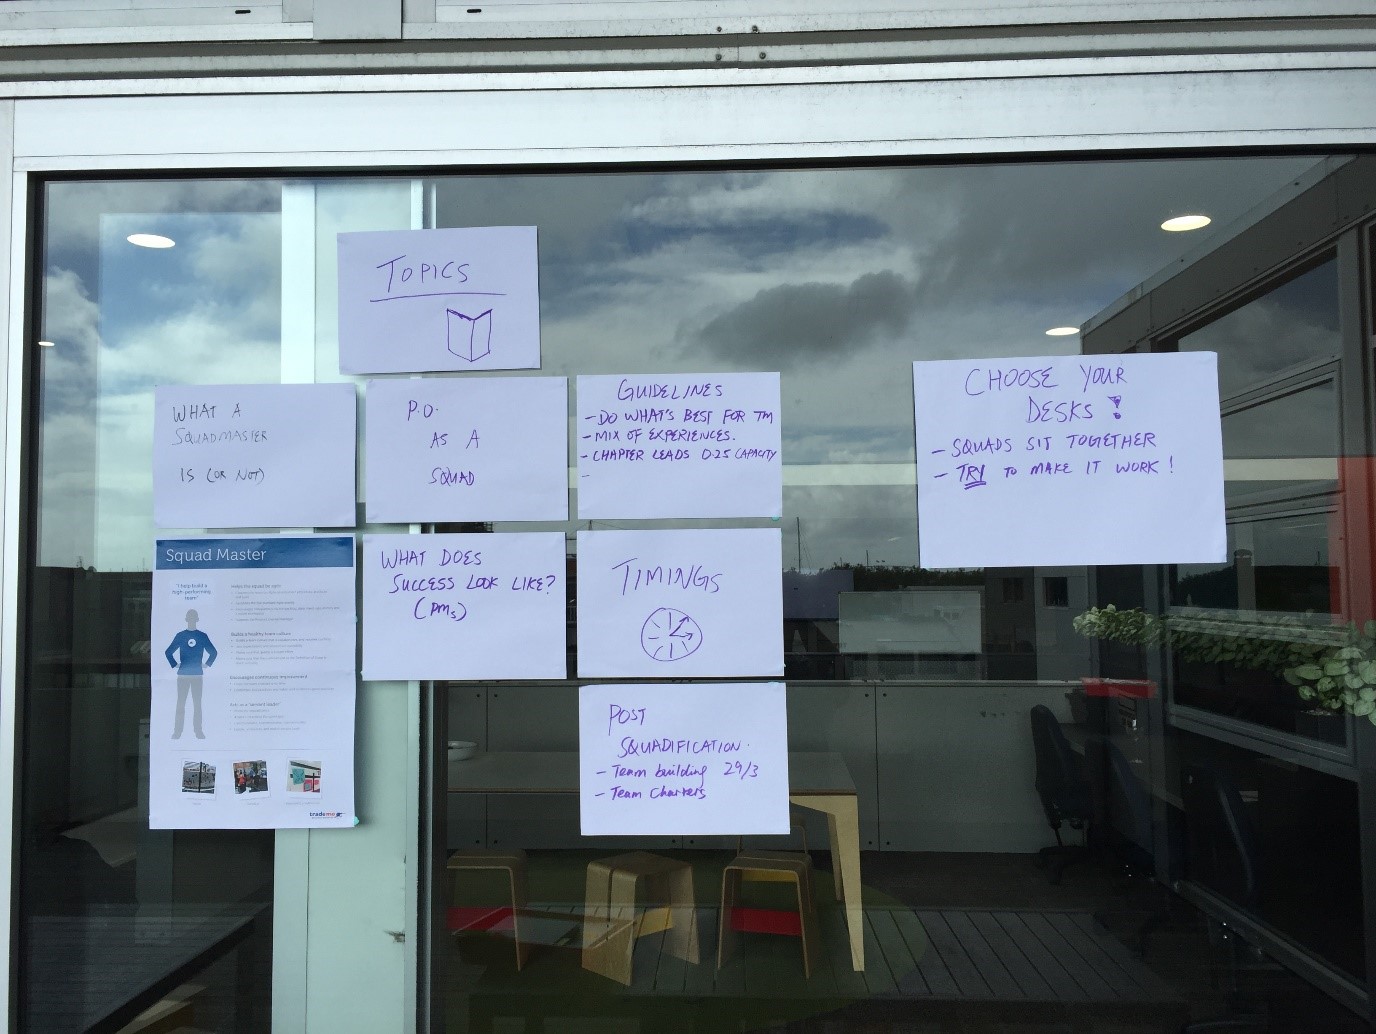
As part of self-selection, squad members get the opportunity to wear a Squad Master hat for six months. The meaning of Squad Mastering gets lost with the mechanics of ceremonies over time, so we made sure we reinforced what it really meant to be a Squad Master. I use the terms Scrum Master and Squad Master interchangeably, but we give our teams the freedom to choose their Agile ingredients – they might choose another framework over Scrum (e.g. Kanban). I write about What a Scrum Master is/not in this post.
Now people got really excited and headed to the deck for previews of the new squads. We wanted healthy discussions to happen and team members were asking questions about initiatives ahead of time, which was great.
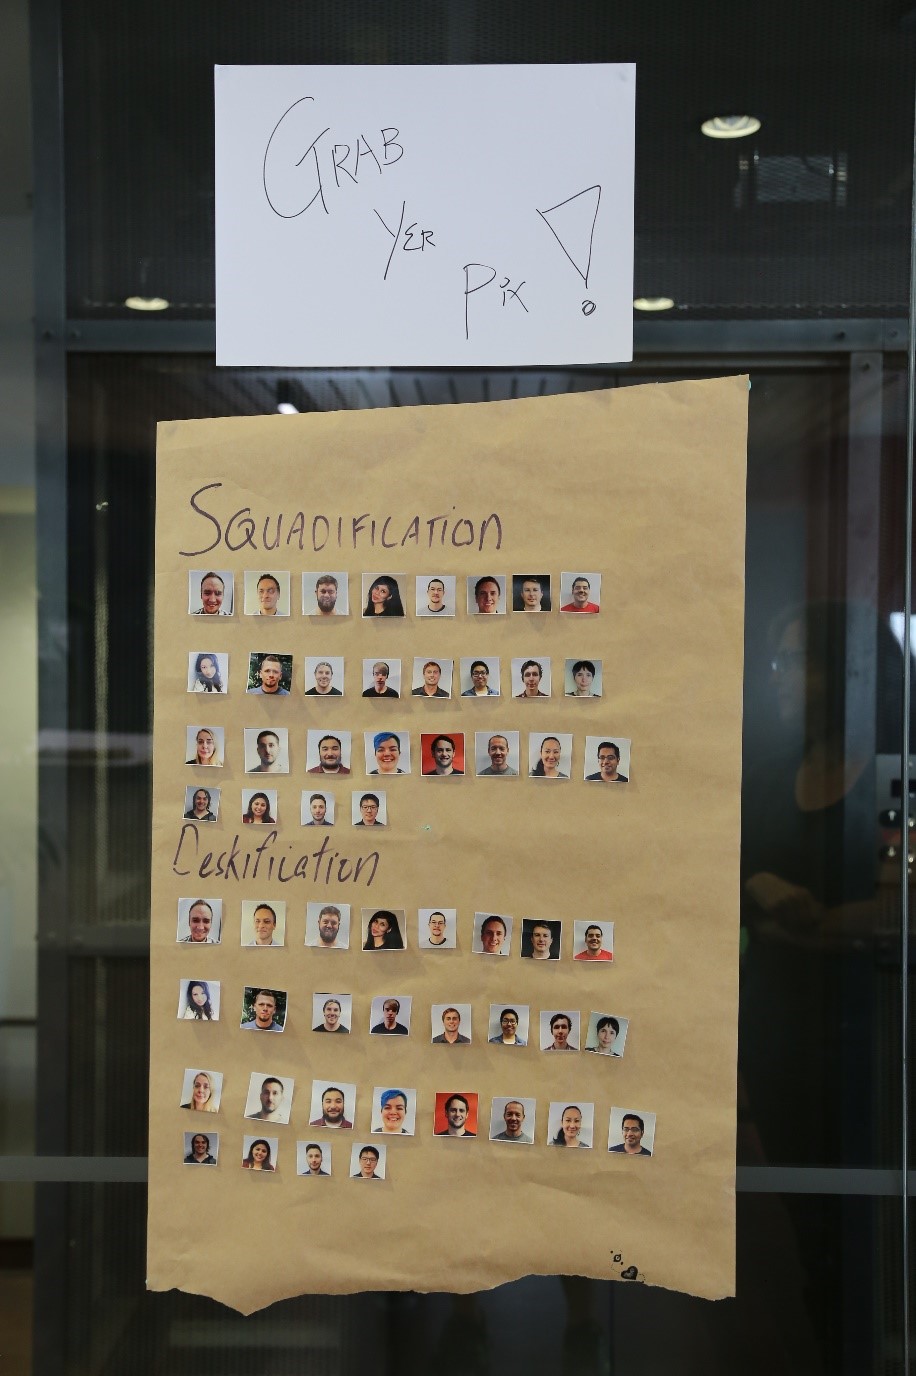
Step 6. Pictures
Scott printed and blu-tacked pictures for everyone.
Step 7. FAQs
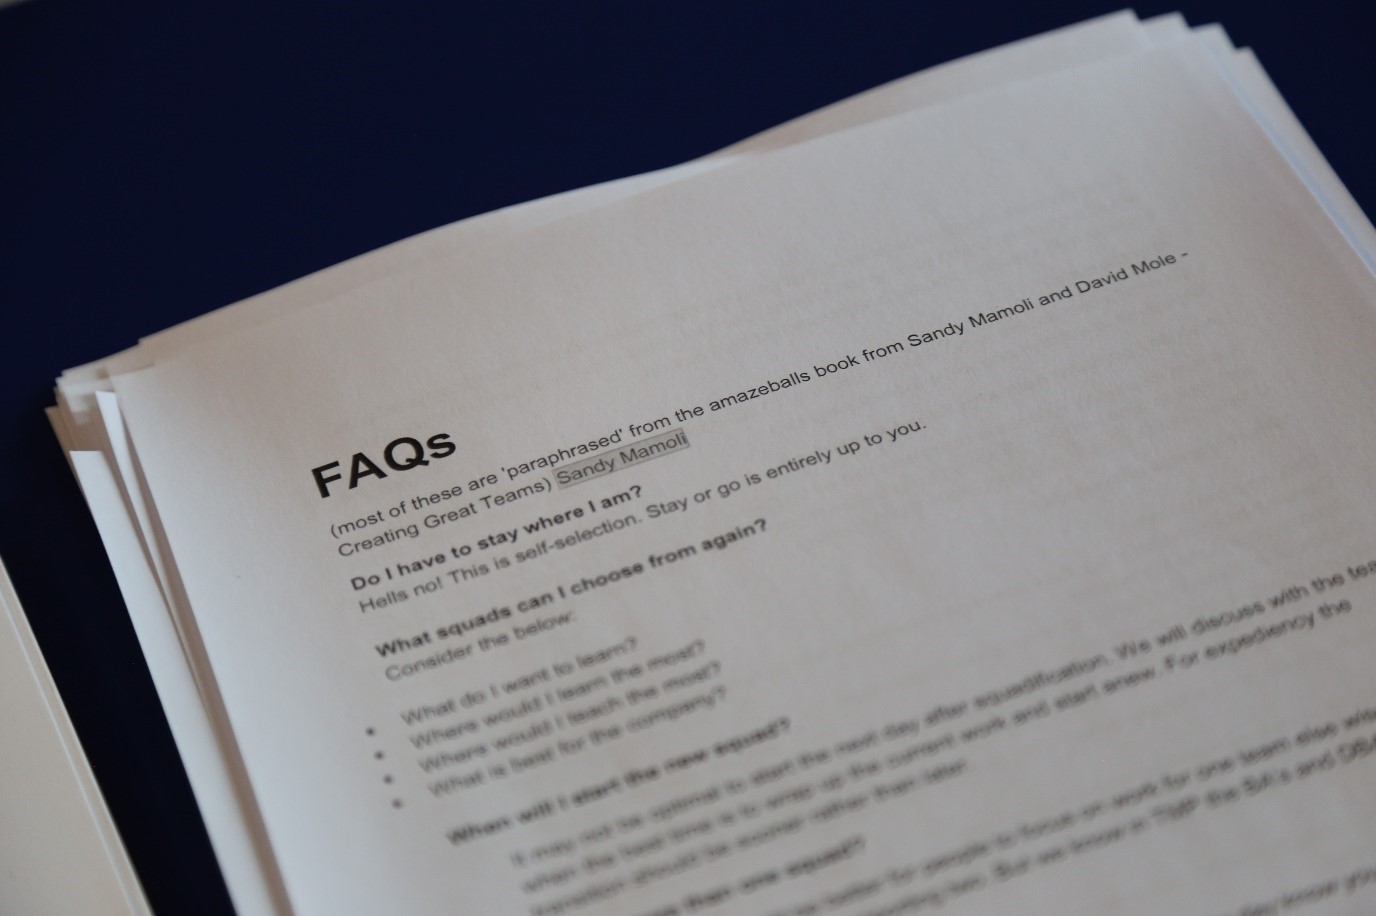
Scott and I put together a bunch of FAQs that were sent out beforehand. We also printed out physical copies for the day, in case anyone needed them.
Step 8. Read the book
Sandy gave me THE BOOK. And I read it. Miraculously I’d done everything right. Nothing could go wrong.
Step 9. Final prep
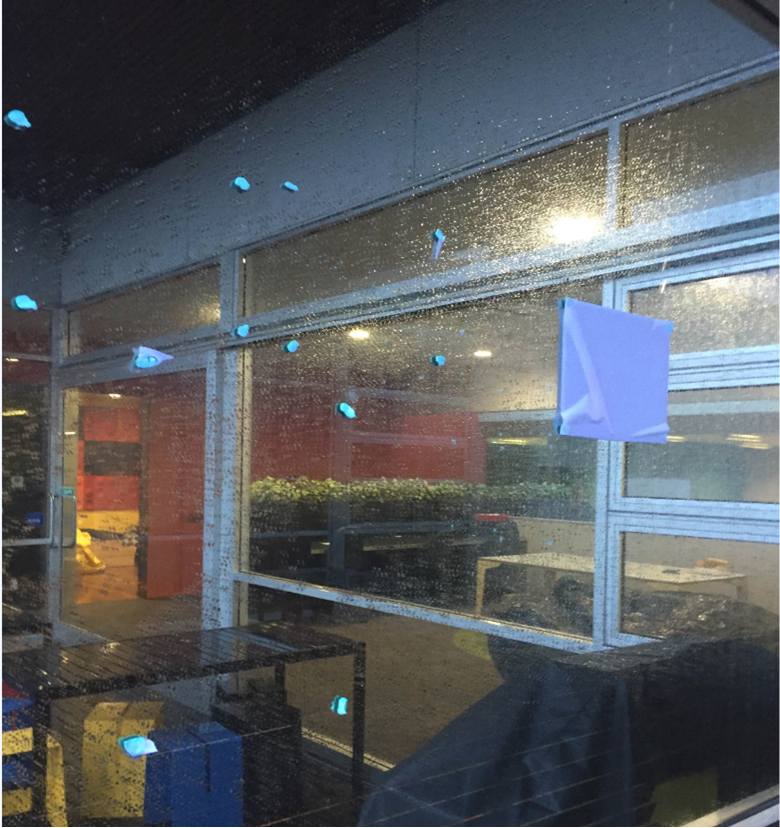
Then on the morning of squadification, we rocked up to this. A storm had disintegrated all our posters. Which was not a bad thing because it gave us another opportunity to refine them.
We relocated to another private area of the office. This worked really well in hindsight – we needed the privacy to air our dirty laundry and thrash out any hard discussions about people not wanting to move squads. More on that later.
These posters were put up to make people feel welcome. At a team building event late last year, we derived our tribe “Definition of Ready” and values. They were a nice reminder that we’re working as a team towards a common goal.

Then we put those values up on the wall – big and bold.
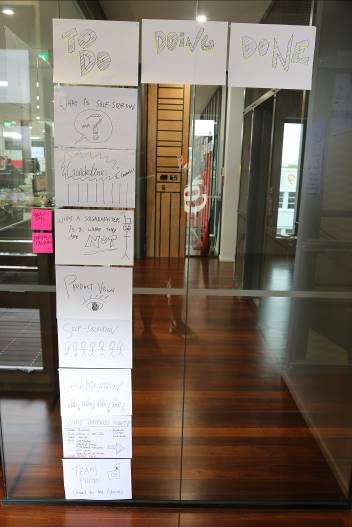
Topics went up on the wall Kanban Style. In hindsight, this was useful because the process flashes by really quickly. Everyone was very hyped up, including us facilitators, so the Lean Coffee board was a handy reminder. We moved topics to “Doing” as we discussed them, then “Done” when complete.
Step 10 – The kick off
We welcomed every one and worked through the topics of “What self selection is”, “Guidelines for the day”, “What a ScrumMaster is/not”.
Lesson learnt: don’t scrimp on the Blu-tack.
Step 11: Pitches
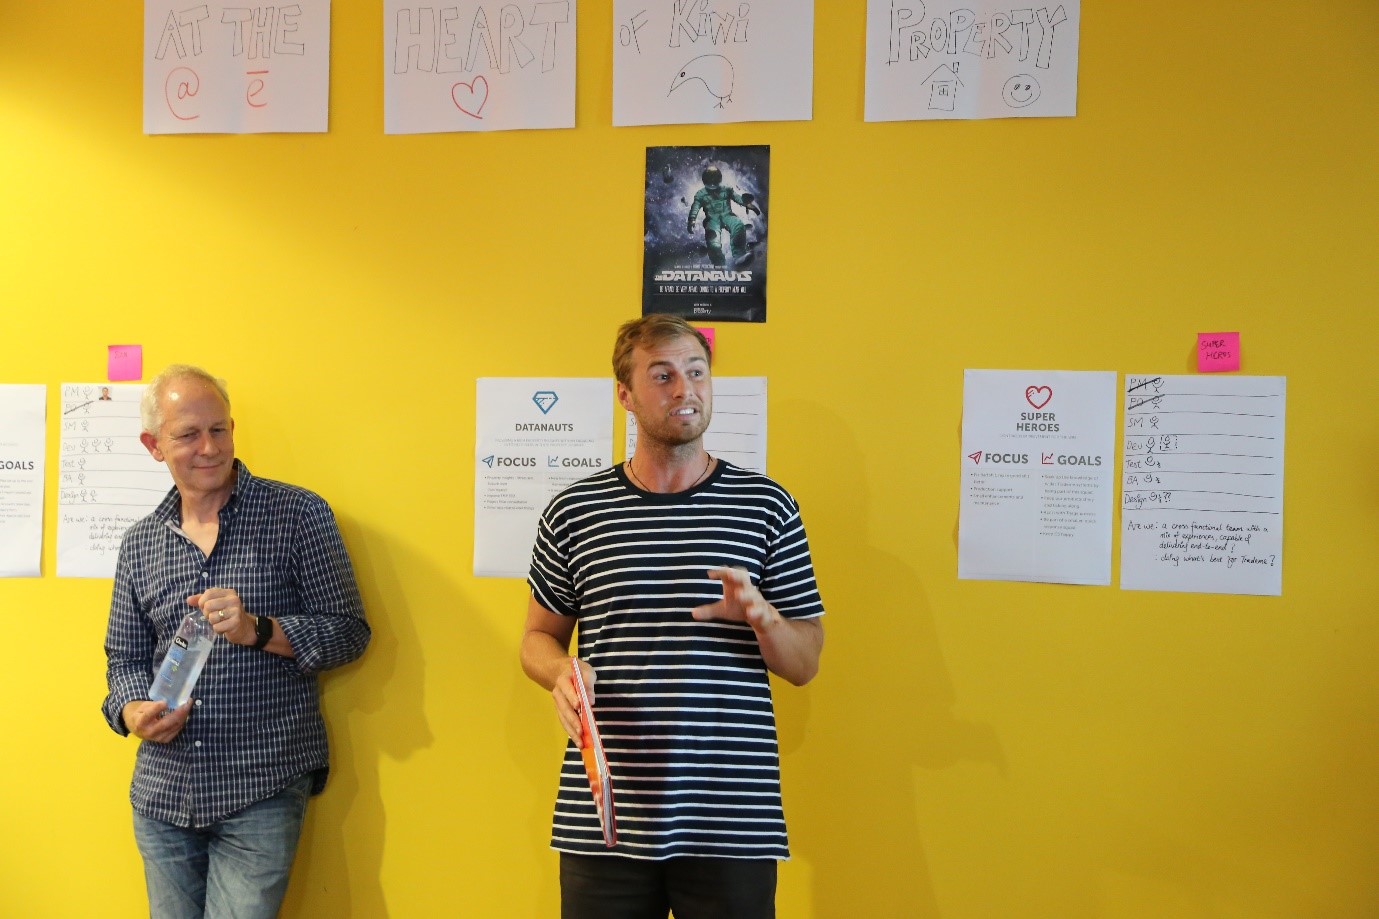
Product Managers pitched their visions and called out their definition of success for each theme. We also discussed technologies used as that seemed to be a motivator.
Here’s Adam, one of our product managers, pitching their vision. Sorry Adam, but you look like a dork. (But that’s OK because you’re leaving for your big OE. We wish you all the very best.)
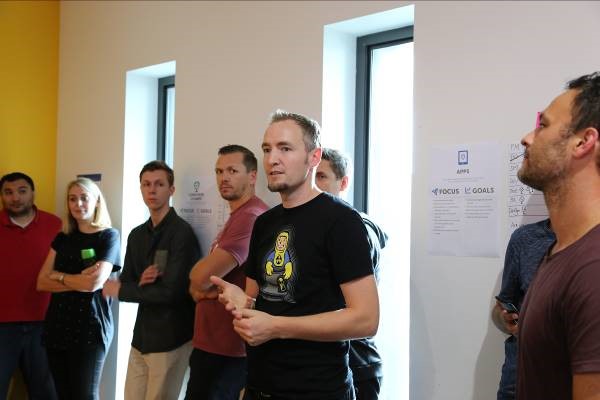
Kris talking about technologies.
Step 12. Self-selection
We broke into three rounds of self-selection, with an announcer from each squad calling out any issues with their squad make-up after each round. This is where it started to get really exciting. We noticed natural flows towards and against certain squads. As a Delivery Manager, I had an inkling and who was I to kid myself into hoping that everything would be smooth sailing?
After only 1 round, we observed inertia against a particular squad.
After 2 rounds, it didn’t look that that inertia was going away.
After 3 rounds, we were stuck!
It was very handy having our agile coach Christine in the room – she was a neutral facilitator and painted the objective view of the importance of the squads sorting themselves out, otherwise their Delivery Manager would have to step in. Eventually, we agreed a couple of individuals would rotate squads after three months.
Best advice to anyone planning to run self-selection: have a think about any inertia issues that might happen – don’t get caught off-guard!
Step 13. Desk selection
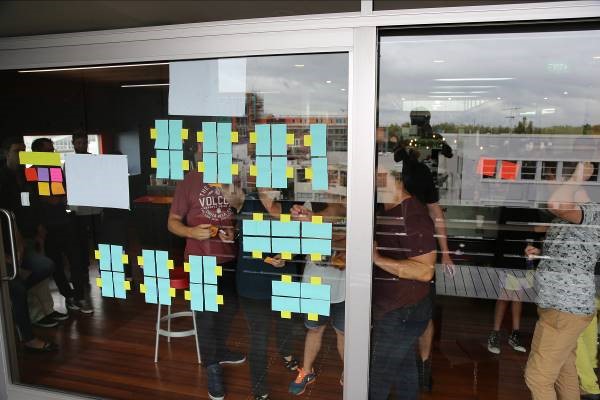
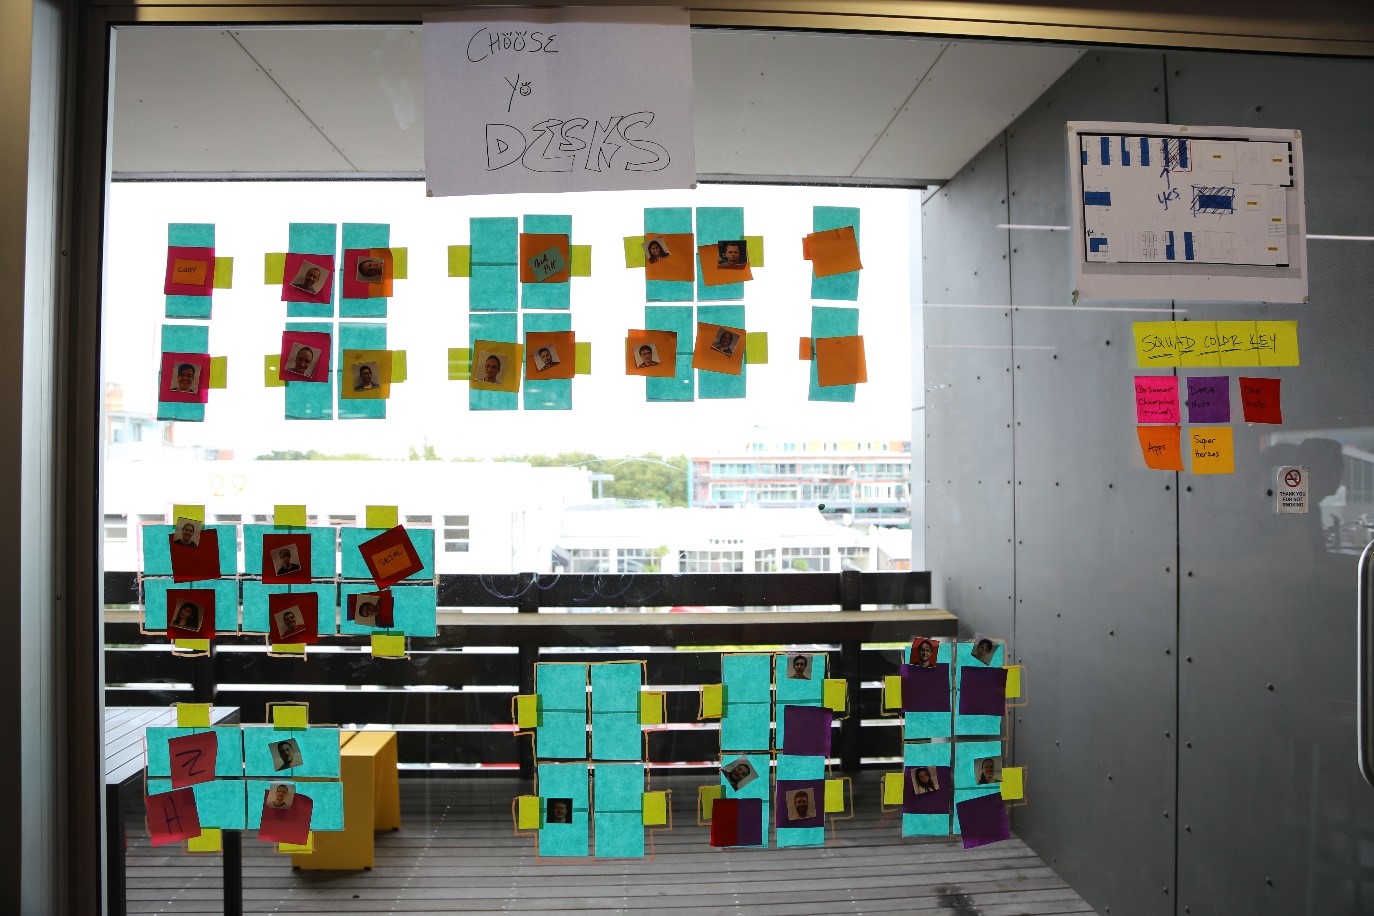
Phew! We got the main agenda sorted and moved on to desk selection. To alleviate total chaos from ensuing, we put a few roles around the process and did it in two stages. The overarching rule was that squads had to be co-located and “try to make it happen”. Initially, we got squads to agree on pods of desks – i.e. which squad would take on which pod of desks. Then we got squads to break it down and agree on where each individual wanted to sit within a squad. Everything ran smoothly. People were happy.
Step 14. Closing the day
We closed off with a group photo. Look at those happy faces.

Step 15. Retrospective
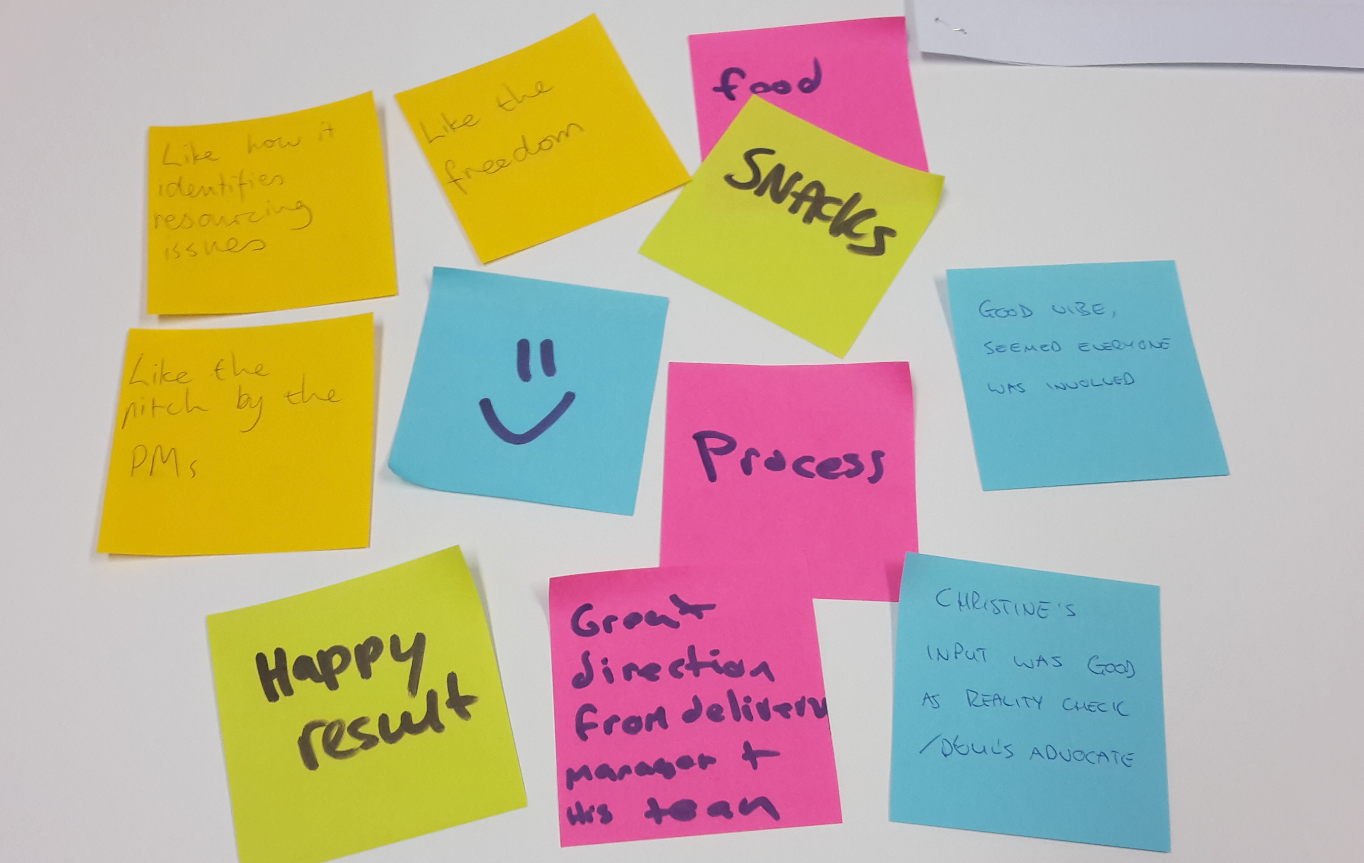
We asked for squads to do a retrospective on the process. In general they loved that we had an agenda for the day, they liked the context setting, the food, product visions, and the freedom. On the flip side, some individuals felt the pressure from management to “take one for the team” i.e. to sign up for something they didn’t buy into.
What we would do the same / differently next time?
- Continue with the practice of having a neutral facilitator.
- To keep decisions self initiated and alleviate any directive pressure from management, get the Delivery Manager and Product Managers to step out of the room, only to be called back on a need-to basis.
- Ensure that individuals who “take one for the team” are rewarded next self-selection with first dibs on their first choices. They’d bag the rights to an immunity trophy (think Survivor) to display on their desks.